Step-by-Step Guide to Installing an Outdoor Main Breaker Panel: Tips and Tricks for a Safe and Efficient Installation Process.
If you’re looking to install an outdoor main breaker panel, it’s important to approach the process carefully and with a clear understanding of the necessary steps. Here’s a step-by-step guide to help you ensure a safe and efficient installation:
Step 1: Choose the Right Location Select a location for the panel that is both easily accessible and well-protected from the elements. The panel should be mounted on a sturdy surface that can support its weight.
Step 2: Plan the Wiring Determine the power requirements of your electrical system and plan the wiring accordingly. Ensure that the wiring is properly grounded and protected by conduit.
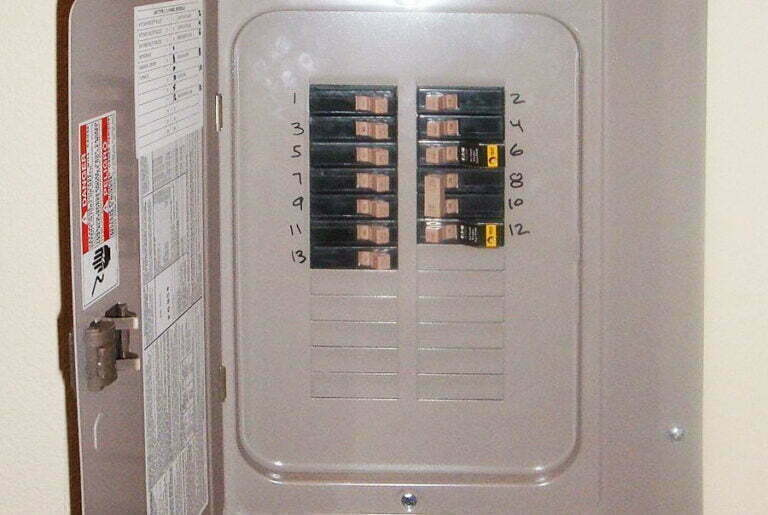
Step 3: Install the Panel Mount the panel securely to the surface you’ve chosen, ensuring that it is level and that all connections are tight and secure.
Step 4: Connect the Wires Carefully connect the wires from the main power source to the appropriate terminals on the panel. Ensure that all connections are properly torqued and that no wires are exposed.
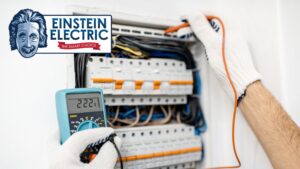
Step 5: Test the System Before turning the power on, double-check all connections and wiring to ensure that everything is properly installed. Once you’re confident that the system is ready, turn the power on and test the panel.
By following these steps and taking the necessary precautions, you can install an outdoor main breaker panel safely and efficiently. If you’re not confident in your ability to complete the installation on your own, it’s always best to call in a professional electrician to ensure that the job is done right.

